


For this project you will need:
- Pot
- Styrofoam that fits into the pot (I used the dome shaped one and just flipped it upside down, but you can use the dome right-side up too to give it a different effect)
- Polymer clay
- 3-4 packages for the tentacle
- 1-2 packages for the suckers
- Dowel rod or chopstick
- Glue gun and glue sticks
- Aluminum foil
- Wire (if making the feeder tentacle)
- Moss or colored paper (For the paper I ran it through the shredder and the crinkled it)
- Rocks or other items to weigh down the pot if it gets too top heavy
The first thing you might want to do is paint/decorate your pot, that way it is done and out of the way, but also if your styrofoam gets stuck, you won't have to worry about getting pieces of styrofoam getting in the paint.

Once you have decorated your pot, stick your styrofoam in and if it doesn't stay because it is too small, then just heat up your glue gun and glue it in your pot. Once you have your styrofoam securely in place, take your chop stick or dowel rod and shove it through the styrofoam to create the hole that it will stay in. This will also allow you to measure out how much you need and cut the excess dowel rod/chopstick off. You will need depending on how you want your tentacle to curve at least 3-4 inches that will go into the styrofoam and pot, plus what will be used to provide support to the tentacle. If you are making the feeder tentacle then you will need 3-4 inches the will go into the pot plus the length of your tentacle plus another inch to go inside the feeder part (if using a chopstick). It you are making the octopus tentacle then you will need 3-4 inches that will go into the pot, plus however much you are going to put into the tentacle itself, I used about 3-4 inches.
Once you have trimmed your dowel rod/chopstick you will need to clean your work surface to begin using your polymer clay. Make sure your wipe it down with a wet rag and a dry rag, because anything on your work surface will end up in the clay.

Once everything is clean you need to take your polymer clay (we are going to start with the tentacle color) and condition it. That means playing with it, mushing it, smashing it, basically getting it to a point where it is pliable and easy to use.

If you are using a chop stick or a small dowel rod, you will want to wrap it in aluminum foil so that you will use less polymer clay and it will bake faster. You clay should not be thicker than 1/2 inch because it won't cook.
If you are making a curved octopus tentacle, then to create the tentacle form you just need to roll the polymer clay into a cylinder with one end being the largest and gradually making the cylinder small until you reach the other end.

If you are creating a squid tentacle, then you will need the dowel rod/chopstick to be inside the entire tentacle length to provide structure and support for the feeder tentacle end. To do this you will roll out the polymer clay to the size you need and wrap the clay around the stick.

Cut away any excess clay and start smoothing out the seam the best you can. Worst case scenario if it just won't smooth right, then that side will be the side you attach the suckers to to hide any imperfections.

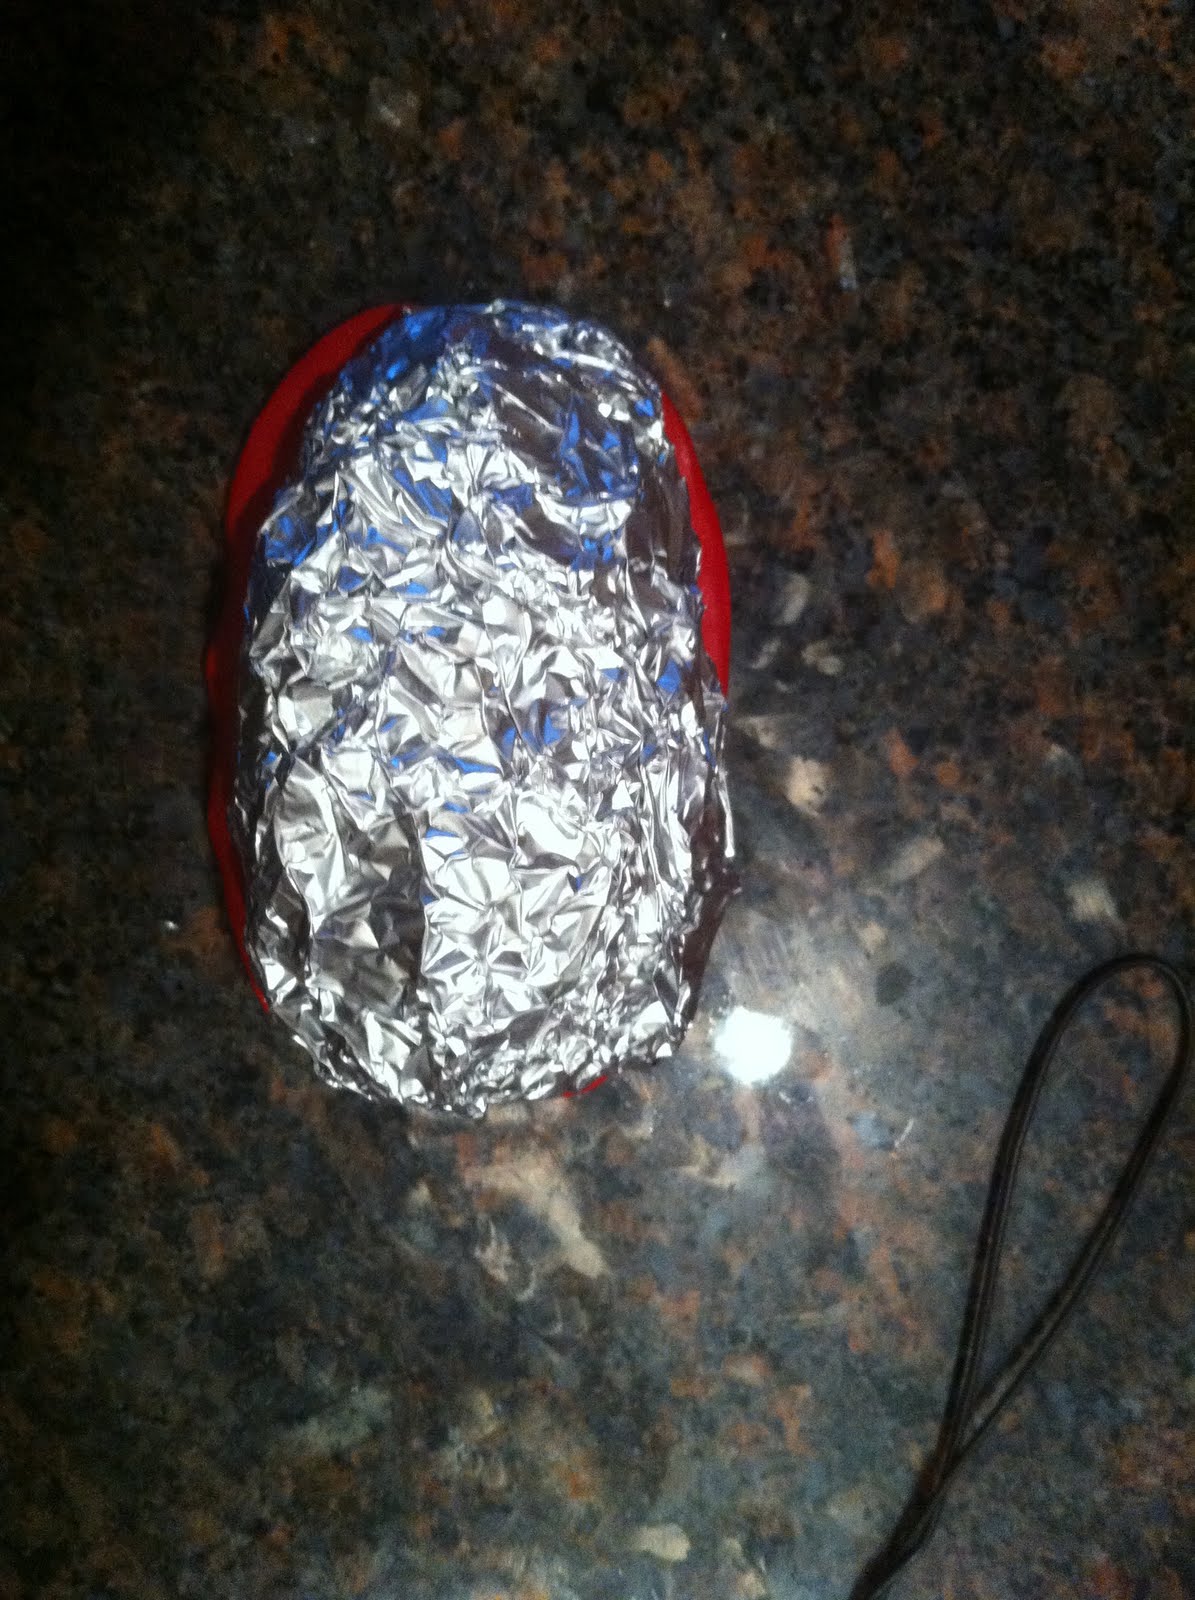
Next, if you are creating the feeder tentacle, then you will smoosh (technical term) your aluminum foil to the desired shape and bend your wire.

The feeder part of the tentacle is covered in two pieces. One piece for the front and one piece for the back. Each piece is rolled out to your desired thickness and then attached to the aluminum piece.


It's so SMOOTH ;)
Now attach the feeder head to the tentacle body, basically stick the wire between the rod and the clay (be careful not to perforate the sides). If you used a chop stick you can trim the clay away from the pointy end and stick that end into the feeder head and the wire into the tentacle body to create two points of contact. One point of contact is just fine because you are still going to seal the two together with clay and bake it until it's hard.


From now on the directions are for both the Feeder Tentacle and the Octopus Tentacle.
Now, we will be using the polymer clay set aside for the suckers. If you used a different color for the suckers, you need to clean off your work station as you did before, otherwise you will pick up piece and smudges from the previous color and taint your sucker color. Also check your polymer clay package and preheat your oven to the correct temperature.
Feeder Tentacle:

Roll your sucker color into 2 different size balls, the bigger ones are for the feeder head and the smaller ones are for the tentacle body. To figure out what size to roll your clay to, roll a ball and smush it a little and that is how big the sucker will be, if that is too big then use less clay. If it is to small then add a little more and do the test again until you get your desire size.
Octopus Tentacle:
Roll your suckers small to large in multiple sizes to create the gradual change in sucker size from the base of the tentacle to tip.

Now comes the fun part: Attaching your suckers.
Stick the polymer clay ball on the spot you want it to be and press a chop stick or pen tip into the middle of the ball. This will create the hole and spread out the sucker as well as attach it to the tentacle. Make sure not to press all the way through, but press a little more than halfway. You can attach them in any pattern you desire, I like to do staggered on the tentacle body because it is most like a real tentacle. Once you have attached your suckers, you will notice that some of the suckers stick out longer than others, you can press them down so that they all stick out the same length. Once you are happy with your tentacle, get out a cookie sheet, cover it in aluminum foil, and place the tentacle in its desire shape (when you are shaping your tentacle make sure that the weight of the tentacle is evenly distributed so that you won't need to put weights in your pot). If you are creating the octopus tentacle this is the point where you insert the dowel rod/chopstick into the bottom of tentacle until you hit the first curve, be careful not the perforate the sides. Stick the cookie sheet in the oven to bake. Check your polymer clay package to see how long it needs to bake for, usually it is 15 minutes.

Once it is done baking, take it out of the oven and let it cool down. Heat up your glue gun and stick the tentacle in the hole to see if you need to add a weight to the bottom of the pot, if not then take the tentacle out of the hole and squeeze a nice amount of glue on the sides of the hole and stick your tentacle's rod into the hole and let it set.

Once the glue has set, squeeze some glue around the tentacle to make sure that the tentacle is going no where.

Once that the glue has set, it is now time to decorate the foam. As you can see in the photos of the end product you can use many things to decorate, like moss or crinkled paper. I like to glue it in two layers, I lay down a bunch of glue and then grab a big handful and stick it on the foam. Once that has set I pull off any pieces that are not glued down. Then I lay down more glue in the areas where is needs more decoration and add more moss. Once all the styrofoam is hidden and the pieces that aren't glued down are pulled off, I like to trim the moss or paper so that you don't have super long pieces. When I trim the moss or crinkled paper I cut it perpendicular to the pot, because if you cut it parallel to the pot then it is all uniformly cut and it doesn't look natural. Once you have finished your tentacle plants "hair" cut you're done.

Now for the care and keeping of your tentacle plant:
It likes any light you can give it and you never need to feed it, because it eats any bugs flying around and takes the moisture out of the air for water.
Cautions: Keep small animals away otherwise they WILL become dinner!
I hope you enjoyed this tutorial, if you have any questions or if something is not totally clear, just comment below.
Thanks,
RobbinZombie
No comments:
Post a Comment